 Wastime
Import milestones with an AI assistant
If the events of your life are already written down somewhere, in your notes perhaps, there is no need to type them in one by one. The app gives you a prompt for an AI assistant, the assistant turns your list into a file, and the app brings that file in next to the milestones you already have.
Before you start
The calendar should be set up, as Set up your life calendar shows. It helps to have your groups in place first, since the prompt passes them on to the assistant, and Group and color milestones covers them. The app itself never talks to an assistant, and your list goes only to the chat you paste it into.
Steps
Open the help on Calendars
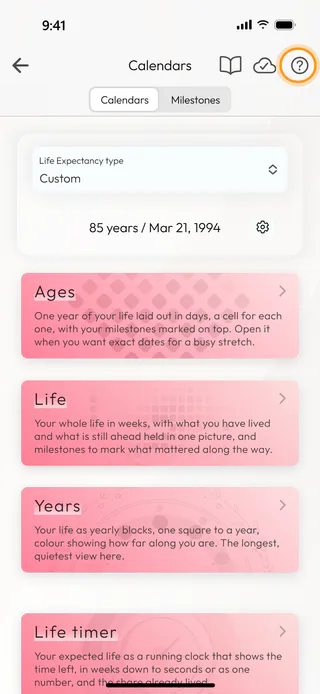
On the home screen, tap Calendars, then the round button with a question mark at the top right.
Copy the prompt
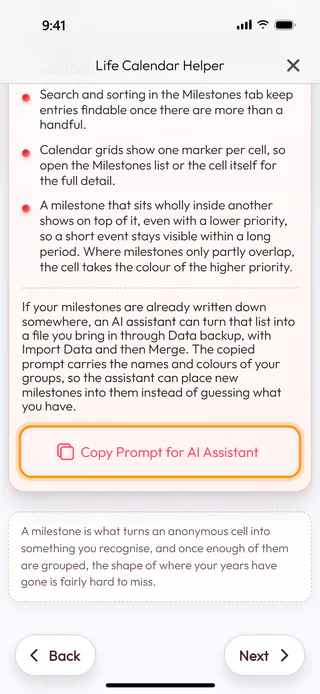
Tap Next until you reach Step 3. Add Life Milestones and Groups, the fourth of seven, and tap Copy Prompt for AI Assistant. The app answers with "Prompt copied. Paste it into a chat with any AI assistant." The prompt carries the names and colors of your groups and today's date, and nothing about your milestones or your birthday.
Make the file with an assistant
Paste the prompt into a chat with any assistant you like and give it your list, in whatever shape it is in. The assistant asks about the dates it can't be sure of and shows you a table to check before it makes the file. Save the file it gives you with a name ending in .json, somewhere your phone can reach it, a cloud drive for instance.
Open Data Backup
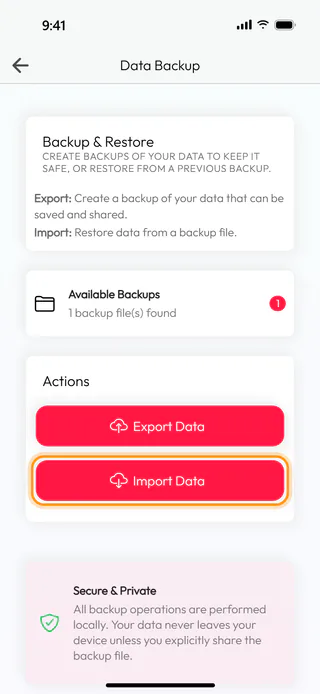
Go back to the home screen, open the menu with the grid button at the top left, and tap Account, then Data & Privacy and Data backup. On Data Backup, tap Import Data.
Choose the file
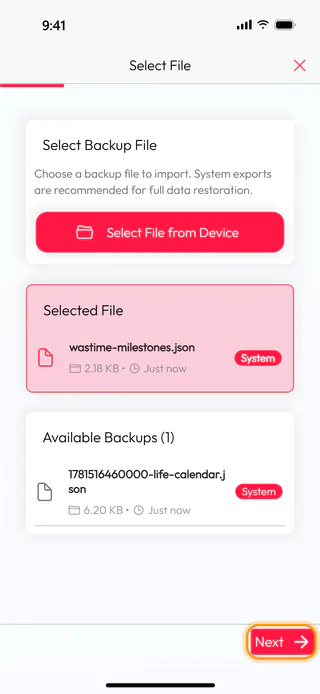
Tap Select File from Device and pick the file from the assistant. Its name and size appear under Selected File. Tap Next.
Keep Merge
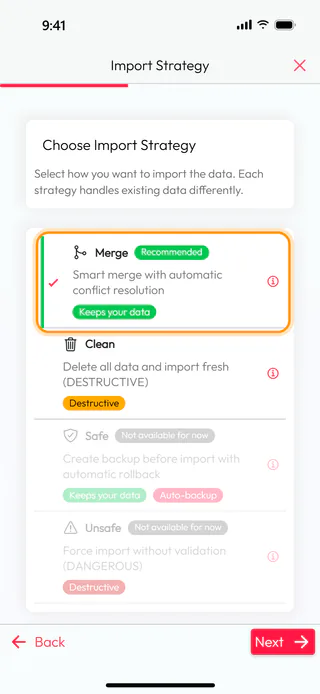
Merge is already chosen and marked Recommended. It adds what is in the file next to what the app already holds, so leave it as it is and tap Next. Clean would delete everything in the app first, which is not what this file is for.
Start the import
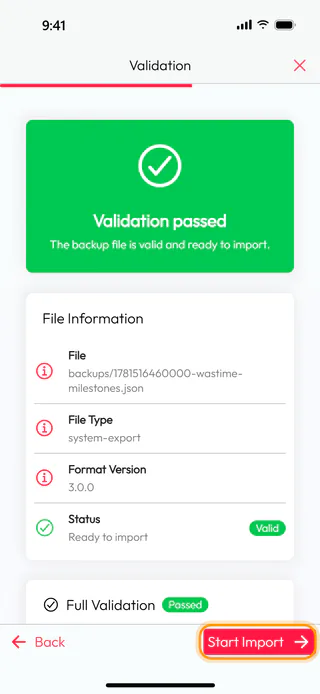
The app checks the file, and when it is fine you see Validation passed. Tap Start Import.
Read the report
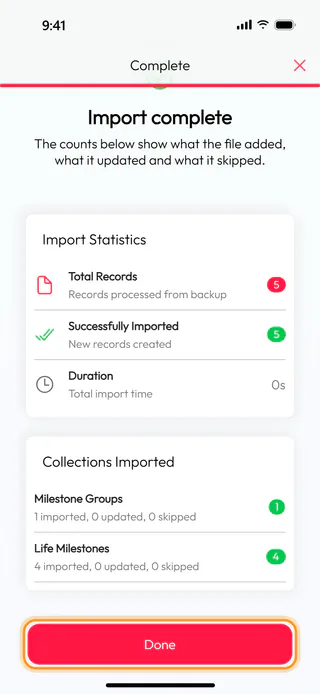
When the import is done, Complete shows how many records the file held and how many of them are new, here five of five, and below that how many groups and how many milestones came in. Tap Done. The new milestones are already on the Milestones tab of Calendars and on the calendars themselves.
What's next
An assistant may guess a date slightly wrong, and Edit, find and delete milestones shows how to put it right in the app. Group and color milestones helps sort the new milestones into groups.

